Up next in 10

💡Rocker Switch Circuit
Sep 27, 2025

💡Rocker Switch Circuit
Show More Show Less View Video Transcript
0:00
Now we want to move on to trying our
0:04
hand in using a rocker switch. And the
0:08
this is the rocker here.
0:13
These terminals on this rocker switch
0:16
are a little too big for my the holes in
0:19
the breadboard. I'm going to have to use
0:22
for demonstration purposes a couple of
0:25
these flexible jumper wires and connect
0:28
it to
0:32
in line with the resistor lead on this
0:34
side.
0:36
And I'm going to take this orange one
0:39
and I'm going to connect it in line
0:44
with this yellow jumper wire. So, I'm
0:47
going to use these alligator
0:51
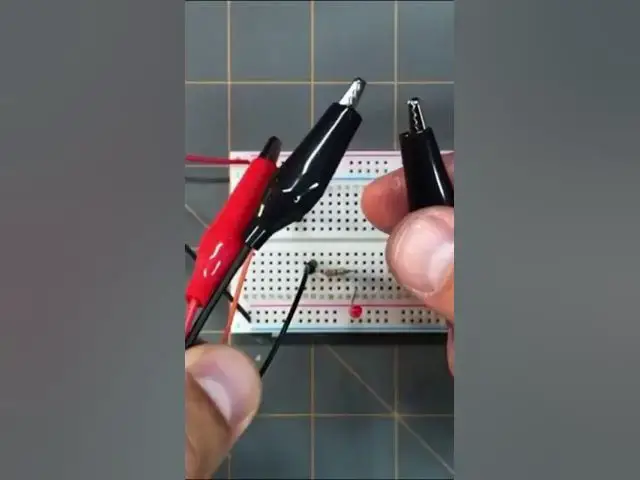
jumper wires or clips, alligator clips
0:54
to one end of the black alligator clip
0:58
to the black jumper wire.
1:01
And I'm going to connect one end of the
1:04
red alligator clip to the orange wire.
1:10
Now I'm going to connect a black end to
1:15
one terminal of the rocker switch.
1:19
And I'm going to connect the other red
1:21
end, the other red alligator clip to the
1:26
other uh terminal of the rocker switch.
1:30
So now
1:32
since my circuit is complete, if I press
1:35
this rocker switch, the LED
1:39
comes on and off.
#Electromechanical Devices